How to Care for Your Home’s Wooden Floors
Keep your wooden floors looking great by choosing the right finish for the species and traffic, sweeping or vacuuming daily with soft tools, and spot-cleaning spills immediately with a damp microfiber cloth. Control humidity, use felt pads under furniture, and trim pet nails to prevent scratches. For deeper damage, test fillers and stains or call a pro. Follow manufacturer cure times for recoats and keep routine maintenance—keep going to learn specific tips for species and repairs.
Choosing the Right Finish for Your Wood Floors
When choosing a finish for your wood floors, consider how the room will be used and how much maintenance you’re willing to do.
You’ll start by understanding finish types: oil-based for warmth and durability, water-based for low odor and quicker curing, and hardwax oils for natural feel.
Next, focus on determining sheen levels—matte hides scratches, satin balances gloss and cleaning, gloss highlights grain but shows wear.
Match finish properties to traffic, sunlight, and aesthetic goals.
Test samples in different light, follow manufacturer cure times, and plan recoat schedules to keep floors protected and attractive.
Daily Cleaning Routine for Hardwood Flooring
Start each day with a quick, consistent routine that keeps dirt and grit from abrading your hardwood: sweep or dust-mop high-traffic areas to remove loose particles, spot-clean spills immediately with a slightly damp microfiber cloth, and air out rooms briefly to reduce indoor humidity.
Then, follow simple sweeping techniques—use short, overlapping strokes toward an exit and check corners for hidden debris. Use gentle dusting methods on baseboards and under furniture to prevent buildup.
Tackle sticky spots promptly, avoid excess water, and schedule a weekly light pass plus immediate attention after messy activities to protect finish and longevity.
Best Tools and Supplies for Wood Floor Care
Now that you’ve got a daily routine, let’s look at the right tools and supplies to keep your floors looking their best.
You’ll want essential cleaning tools like a microfiber mop and soft-bristle broom, protective finishing products such as sealers and floor waxes, and maintenance accessories and extras like felt pads, humidity gauges, and spot-cleaning kits.
Choosing the right items will make routine care faster and extend your floor’s lifespan.
Essential Cleaning Tools
Because your wood floors take daily wear, having the right tools makes cleaning faster and prevents damage. You’ll want a compact toolkit of wood floor accessories and essential tools to keep finishes safe and dirt at bay.
Choose items that loosen grit, lift dust without scratching, and allow gentle damp mopping. Replace pads and filters regularly, and store everything dry.
- Microfiber flat mop with removable pads
- Soft-bristle broom and dustpan set
- HEPA vacuum or canister with hardwood floor attachment
Use these essentials consistently to extend finish life and maintain shine without harsh chemicals.
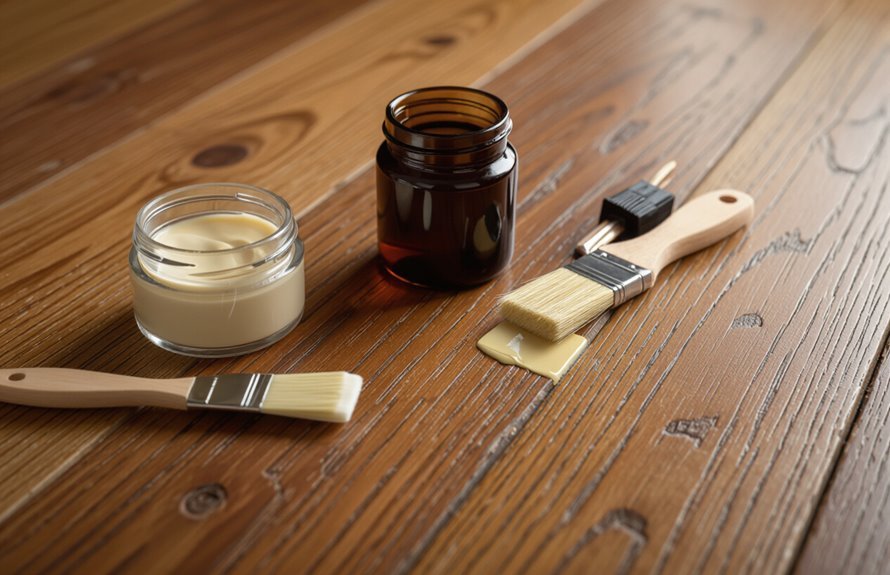
Protective Finishing Products
Those cleaning tools keep grit from scratching your floors, but protective finishes are what actually shield wood from wear, spills, and UV fading.
You’ll choose between oil-based, water-based, and penetrating oils depending on sheen, durability, and color depth. Consider polyurethane for high-traffic areas and hardwax oil where repairability matters.
Read product labels for recommended application techniques: temperature, humidity, brush or roller type, drying times, and number of coats. Test a small area to confirm appearance.
Follow safety guidance—ventilation and proper disposal. With the right types of finishes and careful application techniques, your floors stay beautiful longer.
Maintenance Accessories and Extras
A few well-chosen accessories will make routine wood-floor care faster, safer, and more effective. You’ll want reliable maintenance tools and a few extra supplies to handle dust, spills, and scuffs without harming finishes.
Choose a microfiber mop with washable pads, soft-bristled broom, and pH-neutral cleaner. Keep felt pads, touch-up markers, and a small vacuum with a hard-floor setting on hand for quick fixes.
- Microfiber flat mop (washable pads)
- Vacuum with hard-floor attachment
- Felt pads and touch-up markers
Store extras neatly so you can respond fast and extend your floor’s life.
Removing Dirt and Grit Without Scratching
Start by sweeping with a soft-bristled broom or a microfiber dust mop to lift dirt without scratching the finish.
For finer grit and corners, vacuum using a floor attachment or a setting safe for hardwoods.
Do this regularly to prevent abrasive particles from wearing the surface.
Use Soft Broom or Microfiber
Soft, gentle tools like a microfiber mop or a soft-bristled broom will lift dirt and grit without scratching your wooden floors.
You should sweep regularly with a soft bristle tool or wipe with a microfiber cloth to catch fine particles. Work in short, overlapping strokes toward a dustpan or room exit, so you don’t push grit into corners.
Use light pressure; heavy scrubbing can abrade finishes. Clean or replace broom heads and launder microfiber cloths often to avoid trapping debris.
Store tools off the floor to keep them clean and ready.
- Choose soft-bristled tools
- Launder microfiber cloths
- Sweep toward exit
Vacuum With Floor Attachment
Vacuum your wooden floors with a floor-brush attachment to lift dirt and grit without scratching the finish—run the vacuum slowly in the direction of the boards, overlapping passes and keeping the brush head flat to avoid gouging. Check vacuum settings for low suction on delicate finishes and switch to higher suction for rugs near thresholds. Use soft floor attachments and clean the brush roll often to prevent trapped grit from abrading surfaces. Empty the canister before it’s full and inspect wheels for debris. Follow manufacturer guidance for hardwoods and test an inconspicuous area after adjusting settings.
| Tool | Use | Tip |
|---|---|---|
| Soft brush | Daily | Low suction |
| Crevice tool | Edges | Gentle strokes |
| Roller head | Rugs | Clean often |
| Canister | Dust level | Empty early |
Dealing With Spills and Water Damage Quickly
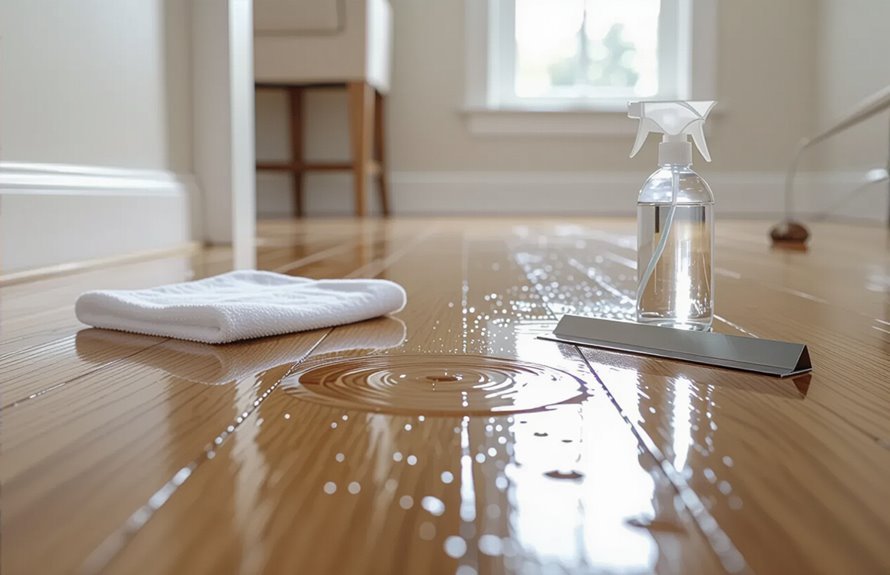
A spill left unattended can warp, stain, or delaminate your wooden floor within hours, so act fast when water or liquids hit the surface.
First, limit spread: use towels or an absorbent cloth for immediate spill containment to reduce water absorption into seams.
Blot—don’t rub—to lift liquid, then replace saturated cloths. If water pooled, lift boards’ edges gently to air beneath if possible and dry with fans and dehumidifiers.
Monitor for cupping or discoloration over days and call a pro if swelling appears.
- Blot immediately
- Remove excess moisture
- Dry thoroughly and monitor
Safe Cleaners and What to Avoid
When choosing cleaners for wooden floors, pick products formulated specifically for hardwood or engineered wood and avoid anything that strips finish or leaves a residue. You’ll prefer cleaners with natural ingredients and low-VOC formulas; they’re gentler and reduce exposure to harmful chemicals. Test any product in a hidden spot first. Avoid bleach, ammonia, oil soaps that build residue, and harsh abrasive powders. For routine care, use recommended pH-balanced solutions and soft microfiber tools.
| Safe Options | To Avoid |
|---|---|
| pH-balanced, natural ingredients | Bleach, ammonia |
| Manufacturer-approved cleaners | Abrasive powders, oil soaps |
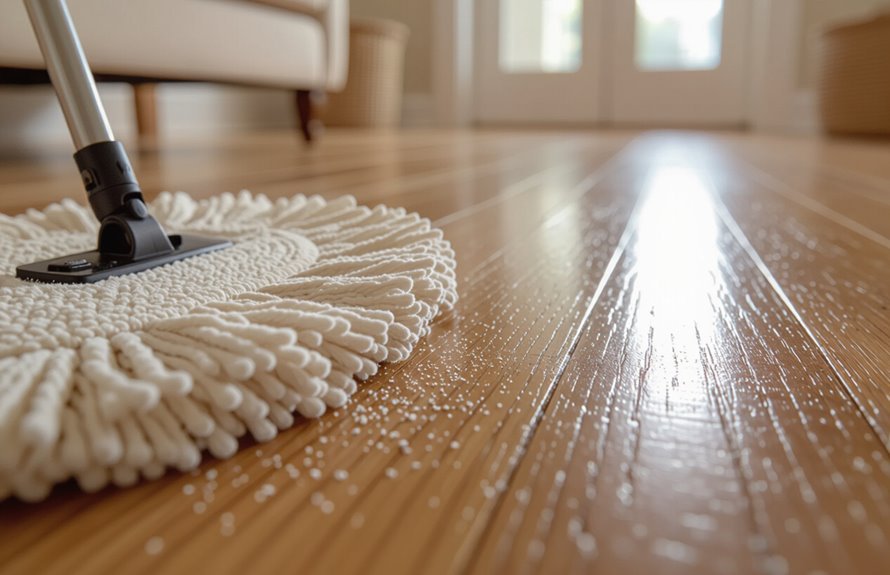
How to Mop Hardwood Floors Properly
After choosing a safe cleaner, you’ll want to mop correctly to protect the finish and remove grime without over-wetting the wood. Start by sweeping or vacuuming, then use a damp — not soaking — mop.
Focus on proper mopping techniques: wring the mop well, work in small sections, and follow the grain. Monitor water usage to avoid puddles; excess moisture warps boards. Rinse and wring frequently, and change the solution when dirty.
Finish by drying with a microfiber cloth or fan. Maintain a regular schedule to prevent buildup and preserve your floor’s appearance and lifespan.
- Wring thoroughly
- Follow the grain
- Dry immediately
Tackling Stains and Discoloration

Next you’ll learn how to identify common stains—like water rings, pet accidents, and ink—so you can choose the right treatment.
You’ll also get safe methods to lift discoloration without harming the finish, from gentle cleaners to spot-sanding when needed.
Follow these steps and you’ll restore your floor’s appearance without causing more damage.
Identifying Common Stains
Stains on wood can look alike at a glance, but identifying their type is key to treating them correctly. You’ll first note color, texture, and how deep the mark goes.
Water rings are pale and raised; pet urine often darkens and smells; oil and grease sit on the finish and feel slick. Knowing common stain types guides your choice of removal techniques without guessing.
- Water rings: pale, often circular, surface-level
- Pet stains: dark, may penetrate finish, odor present
- Oil/grease: dark, slick, stays on top of finish
Inspect before you act.
Removing Discoloration Safely
Because different discolorations need different approaches, you’ll start by matching the treatment to the stain type and the floor’s finish.
First, identify discoloration causes: water rings, pet urine, sun bleaching, or oil. Test a hidden spot to confirm finish compatibility.
For surface stains, try mild dish soap and a soft cloth; for deeper organic stains, dilute hydrogen peroxide applied briefly can lift marks.
For dark tannin stains or burn marks, light sanding and refinishing may be necessary. Always follow with appropriate finish and let cure.
Label each method as temporary or permanent, and keep a record of discoloration solutions you’ve tried.
Repairing Scratches, Dents, and Gouges
Anyone can accidentally mar a wooden floor, but most scratches, dents, and gouges are fixable with the right approach and materials.
You’ll assess depth: surface scratches need surface scratch repair; deeper marks need filling or sanding. For dents, use moisture and an iron to swell compressed fibers, then do dent filling if needed.
Gouges require wood filler shaped to grain, sanded smooth, and stained or sealed to match. Work carefully and test finishes in an inconspicuous spot.
- Choose correct filler and stain
- Match grain direction when sanding
- Clean area before repair
Preventing and Treating Sun Damage and Fading
To keep your floors from bleaching and drying out, block direct sunlight with curtains, blinds, or UV film on windows.
If fading has already started, you can refinish affected areas or sand and refinish the whole floor to restore color and protection.
Regularly rotating rugs and furniture will help prevent uneven sun damage so your refinishing lasts longer.
Block Direct Sunlight
Sunlight can quickly dull and discolor wooden floors, so block direct rays before they do lasting damage. You can protect finishes and wood tone by installing effective window treatments that offer UV protection and by arranging furniture to minimize prolonged exposure.
Use blinds, sheer curtains, or exterior awnings to control intensity without darkening rooms. Consider UV-filtering film for windows where treatments aren’t practical. Rotate rugs and furniture periodically so fading happens evenly.
Check treatments for ease of cleaning and maintenance to keep them effective.
- Install UV-filtering window film
- Use adjustable blinds or shades
- Rotate rugs and furniture regularly
Refinish and Restore
Refresh faded spots and restore your floor’s original warmth by refinishing worn finishes and treating sun-damaged wood promptly.
You’ll assess color loss, sand where finish has failed, and pick a compatible stain to match surrounding planks. For localized fading, spot-sand and apply finish; for broad damage, consider full wood floor refinishing to even tone and protect.
Use gentle restoration techniques to preserve plank integrity—avoid aggressive sanding on thin veneers.
After refinishing, add UV-blocking topcoats and area rugs, and rearrange furniture periodically to prevent repeat fading.
Routine care extends beauty and value.
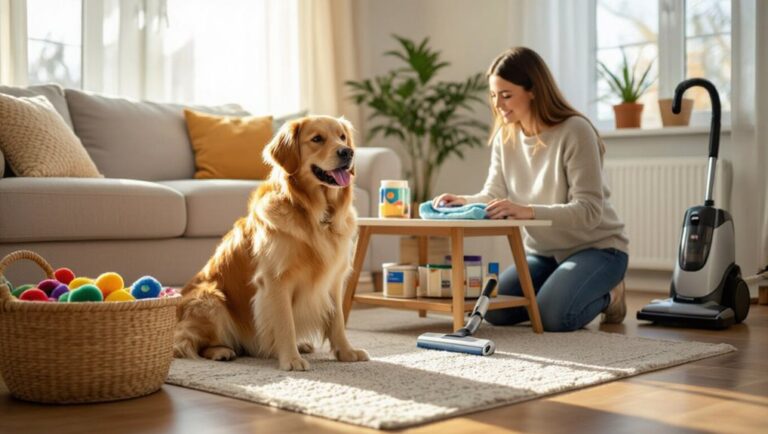
Protecting Floors From Pet Wear and Tear
Pets bring joy — and scratches. You can protect wooden floors from pet wear and tear by choosing pet friendly products and proactive claw protection.
Trim nails regularly, wipe paws after outings, and apply durable finishes that resist abrasion. Address accidents immediately with gentle cleaners made for hardwood.
- Keep nails trimmed and filed to reduce gouging.
- Use pet friendly products for spot cleaning and finishes.
- Provide scratching posts and regular play to redirect activity.
Inspect floors monthly for damage, recoat high-traffic areas when needed, and consult a pro for deep gouges to preserve appearance and value.
Using Rugs and Mats Without Trapping Moisture
Pick breathable rug materials like natural fiber or cotton so moisture won’t get trapped against the wood.
Place proper moisture barriers under mats in entryways and bathrooms to protect the finish without sealing in dampness.
Lift rugs regularly to air the floor and check for any damp spots.
Choose Breathable Materials
Anyone can protect wooden floors by choosing breathable rugs and mats that let moisture escape instead of trapping it beneath the fibers.
You’ll favor breathable fabrics like natural cotton, jute, or wool blends that aid moisture control and dry quickly after spills.
Pick low-pile designs and avoid heavy latex-backed options that seal the surface.
Rotate rugs to let the floor breathe evenly, and lift them regularly to check for damp spots.
Clean spills promptly and air the area.
Keep padding minimal and breathable so moisture dissipates rather than accumulating and damaging finish or wood integrity.
- Natural fiber rugs
- Low-pile mats
- Breathable padding
Use Moisture Barriers Properly
After choosing breathable rugs and pads, you’ll also want to use moisture barriers where they protect the floor without trapping dampness underneath. You’ll select vapor-permeable options and place them following barrier installation guidelines so moisture control stays effective. Check edges, seams, and nearby doors; avoid non-breathable plastic directly on wood. Feel confident when you choose a thin, breathable underlay that lets wood dry naturally while shielding from spills. If you detect dampness, swap materials promptly. The right approach keeps warmth and beauty without mold or warping.
| Calm | Trust | Safety |
|---|---|---|
| Soft | Secure | Warm |
| Pure | Steady | Home |
Lift and Air Regularly
When you use rugs and mats, lift them regularly so trapped moisture can evaporate and the wood can breathe; this prevents staining, warping, and musty odors.
You should move coverings weekly in humid months and after spills to promote wood floor ventilation and to maintain indoor humidity at stable levels.
Check undersides for dampness, discoloration, or mildew. Rotate rugs to reduce uneven fading and wear.
Use breathable rug pads rather than rubber-backed options that trap moisture.
- Lift and air rugs weekly
- Inspect padding and floor for damp spots
- Use breathable pads, not rubber
Seasonal Maintenance: What to Do Year-Round
Although wood reacts to changing humidity and temperature, you can keep your floors looking great year‑round by following a few simple, regular steps: monitor indoor humidity, clean gently and promptly, use seasonal protective measures like mats and felt pads, and inspect finishes for wear so you can address small issues before they become big ones.
For seasonal cleaning, adjust your routine: sweep and vacuum more in fall and spring, mop with a damp (not wet) cloth, and remove salt or grit quickly. Rotate rugs, trim pet nails, and replace worn pads. Check finish integrity and touch up small scratches promptly.
Managing Humidity and Preventing Warping
Keeping humidity in check is one of the best things you can do to prevent gaps, cupping, and warping in wooden floors. You should aim for consistent indoor humidity (35–55%) and use humidity control devices like humidifiers or dehumidifiers when levels drift.
Place moisture monitoring tools in key rooms to spot changes early. Maintain steady HVAC settings, ventilate after showers or cooking, and avoid rapid temperature swings. Small leaks must be fixed promptly to prevent chronic moisture.
Follow these simple steps to protect your floors:
- Monitor humidity with a hygrometer regularly.
- Use dehumidifiers in damp areas.
- Ventilate bathrooms and kitchens.
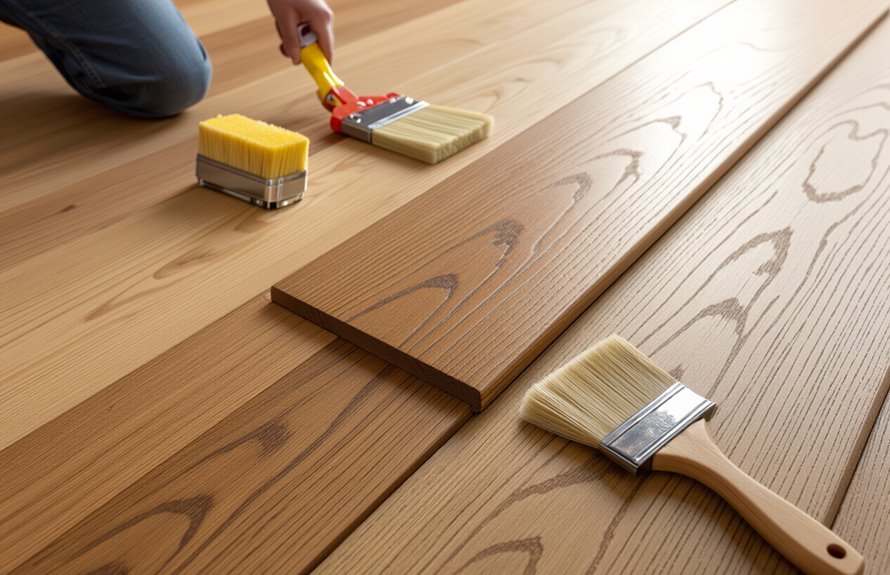
When and How to Refinish Your Wood Floors
If your floor looks dull, shows deep scratches, or the finish flakes off in high-traffic areas, it’s time to refinish; doing so restores protection and can completely change the look of a room.
First, assess board condition and decide between full refinishing or replacing damaged planks.
Choose refinishing techniques based on finish type: oil, polyurethane, or shellac need different approaches.
Consider sanding options — drum or orbital for major wear, hand-sanding for edges — and always follow proper grit progression.
Clean thoroughly, apply stain if desired, then seal with recommended coats.
Hire pros for large jobs or rent quality equipment.
Spot-Sanding and Touch-Up Techniques
After refinishing or when only small areas show wear, you can save time and finish by spot-sanding and touching up instead of refinishing the whole floor.
You’ll isolate damaged boards, sand lightly with fine-grit paper, and blend edges so repairs aren’t visible. Use spot sanding techniques that follow grain direction and avoid over-sanding.
Clean dust, apply matching stain, then seal with compatible finish. Test on scrap first.
- Sand edges gently to blend repairs
- Match stain tone before sealing
- Use thin finish coats to build gloss
These touch up methods keep repairs discreet and extend your floor’s life.
Caring for Different Wood Species and Engineered Floors
Different wood species and engineered floors respond to wear and cleaning in distinct ways, so you’ll want to tailor maintenance to each type.
For oak species maintenance, sweep regularly, use a pH-neutral cleaner, and address spills quickly to protect grain and finish; refinish solid oak when wear reaches the veneer.
With bamboo flooring care, avoid excess moisture, use soft-bristled tools, and choose mild cleaners to prevent swelling or discoloration.
Engineered floors tolerate moisture and temperature changes better—clean gently and avoid abrasive pads.
Always follow manufacturer guidelines for products and refinishing limits to preserve appearance and longevity.
Moving Furniture Safely to Avoid Damage
When you move furniture, plan the route and protect both the floor and the piece: lift or slide using proper tools like furniture sliders, felt pads, or a dolly, and put down a protective layer where feet will travel.
You should lift when possible, ask for help, and avoid twisting that stresses joints or finishes. Use furniture sliders and protective pads under legs and edges, tape protective runner where needed, and test narrow turns before committing.
Move slowly to prevent gouges, and clean grit from the path first.
- Lift with partners when items are heavy
- Use sliders and protective pads under legs
- Clear and sweep the route before moving
Eco-Friendly and DIY Wood Floor Care Options
Because you care about both your home and the planet, you can keep wood floors looking great with simple, eco-friendly methods you can do yourself. Use natural cleaning products and homemade solutions like vinegar-diluted water for routine mopping, and olive oil mixes for spot polishing. Test patches first, wring mops well, and dry quickly to avoid warping. Regular sweeping prevents grit scratches. Embrace gentle care, and you’ll feel proud maintaining warmth and beauty sustainably.
| Action | Feeling | Result |
|---|---|---|
| Sweep daily | Calm | Fewer scratches |
| Mop gently | Proud | Clean finish |
| Spot-treat | Confident | Restored sheen |
Professional Maintenance and When to Call an Expert
Although routine cleaning keeps your floors healthy, some jobs are best left to pros to avoid costly mistakes; call an expert if you see deep scratches, widespread water damage, uneven wear, or finish failures that DIY fixes can’t correct.
You should schedule expert consultations for assessments, refinishing, or structural issues beyond sanding. Professionals can match stains, repair boards, and prevent mold underboards.
Ask about maintenance contracts to protect your investment and get regular inspections. Get written estimates, timelines, and warranty details before work starts.
Choose a licensed contractor with good reviews so you’ll get reliable results and lasting protection.
- Refinishing assessment
- Water damage repair
- Regular inspections
Conclusion
You’ve learned practical ways to protect and clean your wooden floors, but consider this intriguing theory: routine light cleaning actually strengthens finish adhesion over time by preventing grit from abrading microlayers. While lab evidence is limited, real-world experience supports it—keeping floors debris-free helps finishes last. So stick to gentle daily care, use the right tools, address spills fast, and call a pro for big issues. Small, consistent steps will keep your wood looking its best.